Timeline
Timeline effects
Change the tracks below with effect clips.
An effect clip changes the laser output of the tracks under it for as long as the clip lasts.
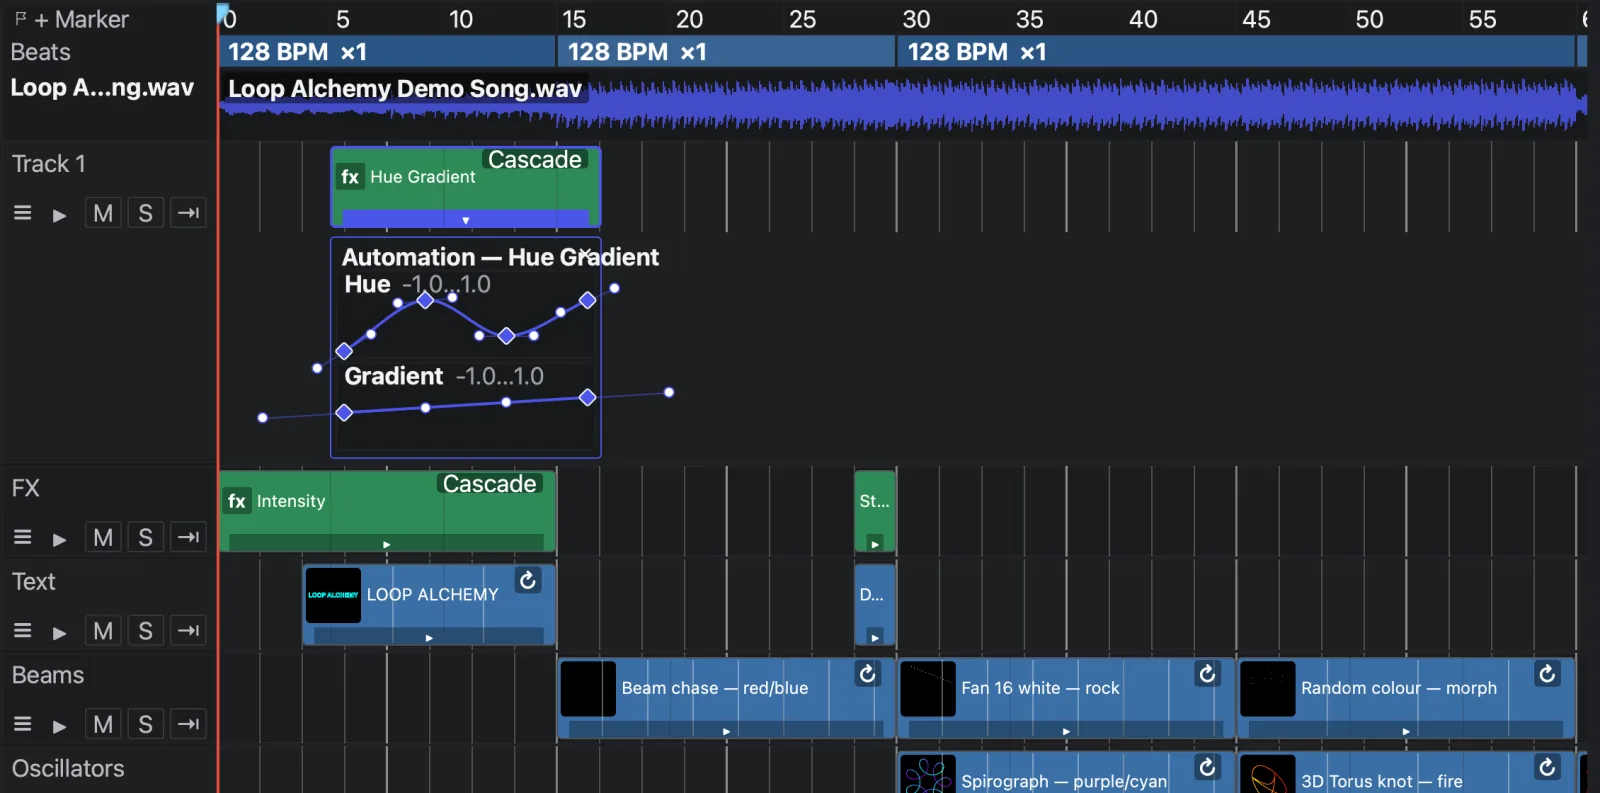
How effect clips work
- An effect clip sits on a laser track, drawn in green with an fx badge, and works like an adjustment layer: it changes the clips on its own track and on every track below it.
- Parameters keep their default value until you add keyframes.
- Effect clips have no Gain, Xfade, Loop or blend mode. To fade an effect, automate one of its parameters (for example Amount on Intensity).
- Video tracks don't take effects.
Add an effect clip
- Pick a track above the tracks you want to change. To change the whole show, use the top track.
- Right-click an empty part of that track where the effect should start.
- Choose the effect under Single-zone effects or Multi-zone effects.
- Drag the clip's edges to set its length (a new clip is 4 seconds long).
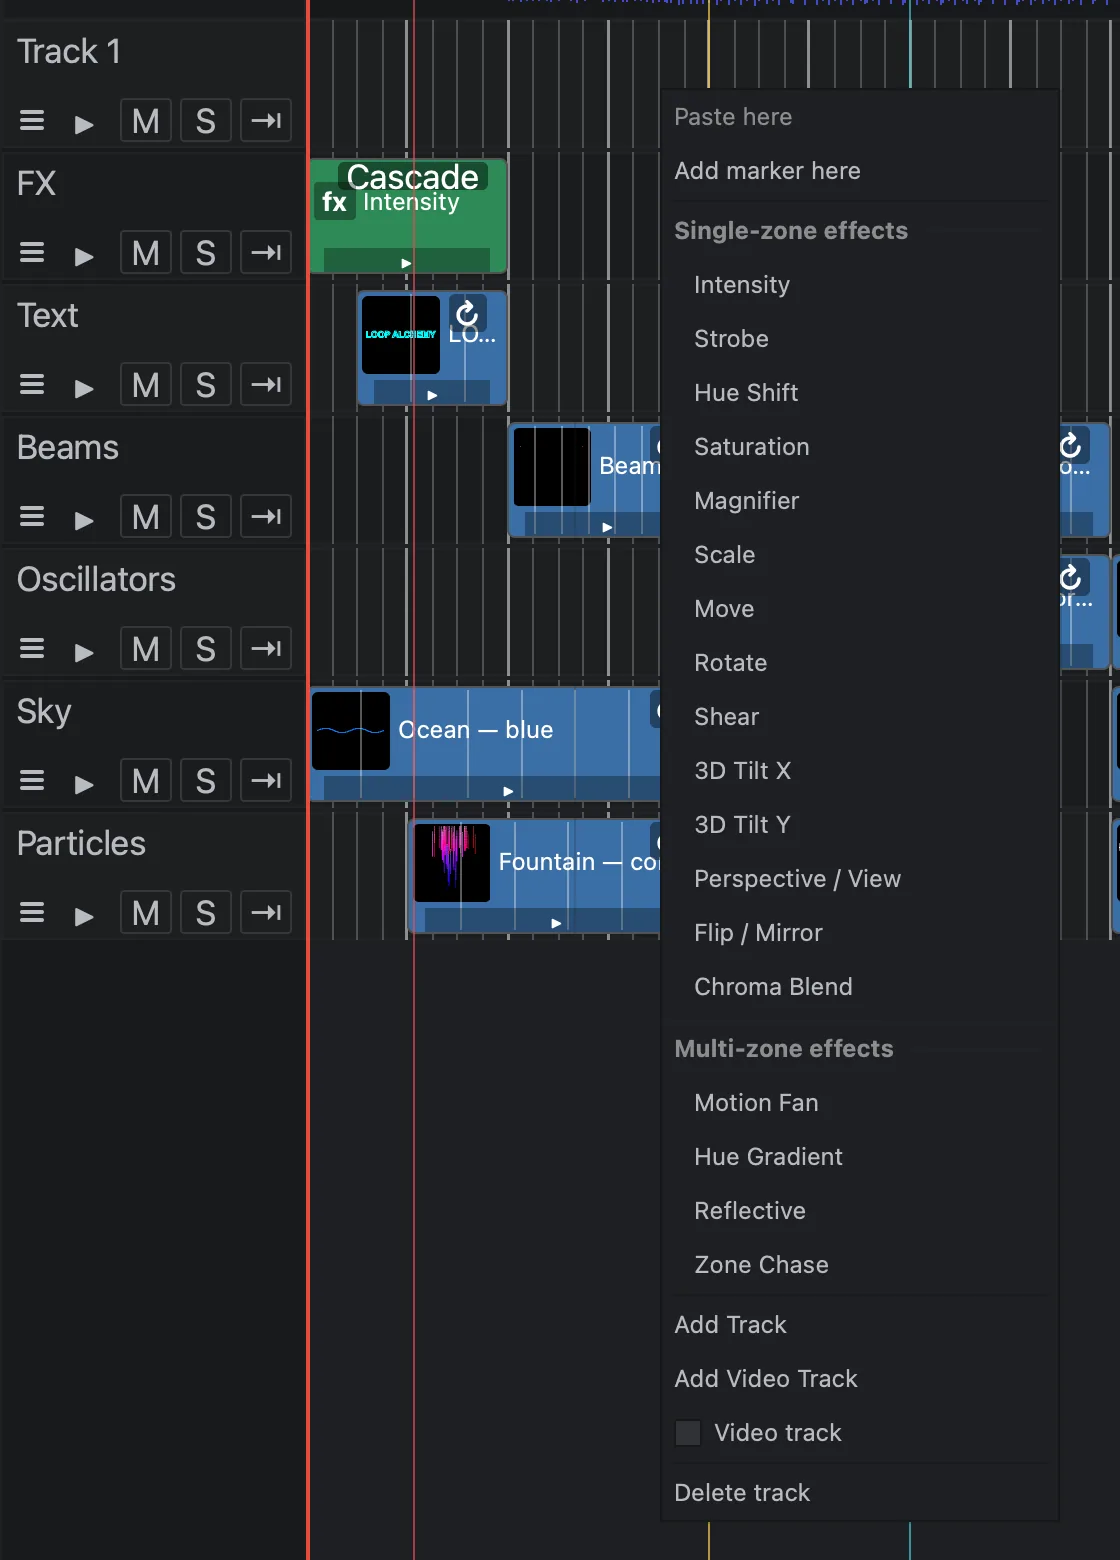
Single-zone effects
These change every zone the same way: Intensity, Strobe, Hue Shift, Saturation, Magnifier, Scale, Move, Rotate, Shear, 3D Tilt X, 3D Tilt Y, Perspective / View, Flip / Mirror and Chroma Blend. Each does what its name says; the values that aren't obvious:
| Effect | Worth knowing |
|---|---|
| Intensity | Amount 0 is blackout. Automate it to fade an effect or a whole section |
| Strobe | Rate is flashes per second; Duty is the lit part of each flash |
| Hue Shift, Rotate | 1 is a full turn |
| Saturation | 0 is white, 1 unchanged, above 1 more saturated |
| Move | 1 is half the scan area |
| Flip / Mirror | 1 is mirrored. Animate 0 to 1 for a flip |
| Chroma Blend | Recolours towards a built-in Chroma Blend palette |
Multi-zone effects
These are the performance master effects. They treat each zone by its position on the stage, so they need several zones. A clip gives the same result as the live master effect at the same values; see Master effects.
| Effect | Parameters | What it does |
|---|---|---|
| Motion Fan | Motion, Fan (−2 to 2), Delay (−1 to 1) | Moves zones side to side. Fan spreads them apart; Delay makes the move travel across the rig. |
| Hue Gradient | Hue, Gradient (−1 to 1) | Turns colours, plus an extra turn by zone position: a rainbow across the stage. |
| Reflective | Pattern | Mirrors zones by their place from left to right. |
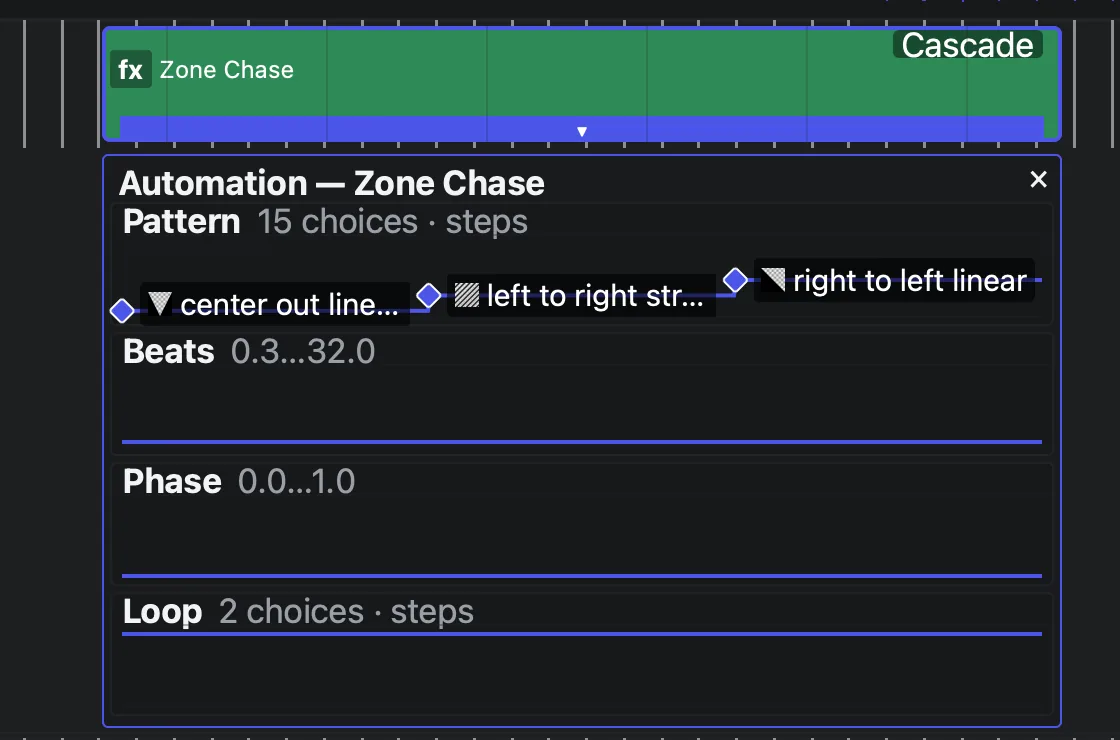
| Zone Chase | Pattern, Beats (0.25–32), Phase (0–1), Loop | Sweeps a chase map across the zones. One pass takes Beats beats; Loop Off runs it once. |
- A new Motion Fan clip comes with a sway on Motion, so it moves straight away.
- Use Hue Gradient for colours that change across the rig; Hue Shift turns every zone alike.
- Palette and the Reflective Pattern offer the built-in palettes and patterns only, not ones you made yourself.
- The Zone Chase Pattern offers the built-in chase maps, then your own (imported or drawn).
Set and animate the parameters
Click the bar along the bottom of the clip (Show/hide automation): one lane opens per parameter. One keyframe holds a value for the whole clip; more keyframes animate it. See Keyframes and automation.
Palette, Pattern and Loop are choices: a keyframe holds its choice until the next one, with no blend. Right-click the lane → Add Keyframe Here…, or a keyframe → Set Choice….
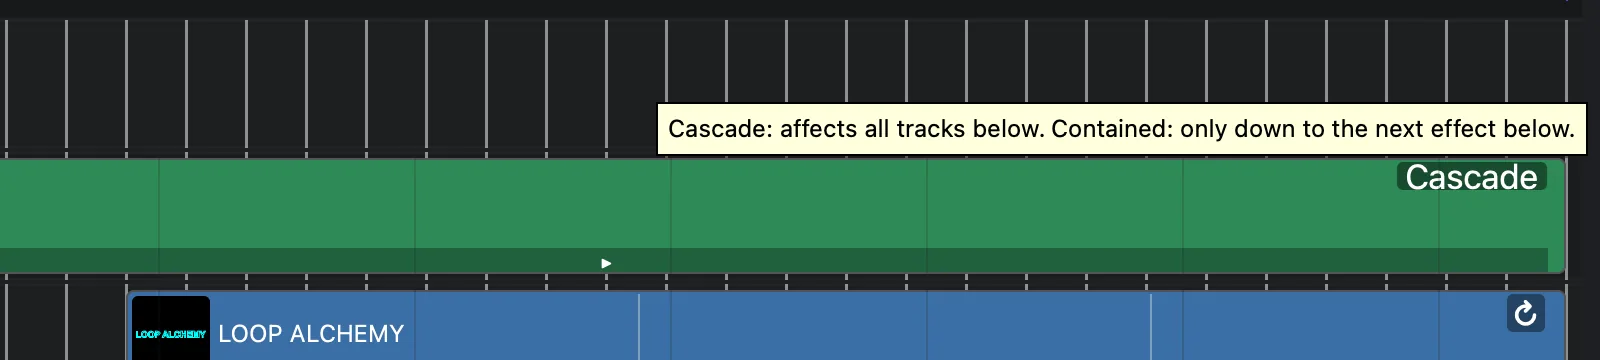
Cascade or Contained
The chip at the top right of an effect clip reads Cascade or Contained. Click it to switch.
| Mode | The effect reaches |
|---|---|
| Cascade (default) | Every track below, down to the bottom. |
| Contained | Only down to the next effect clip below. |
Example: Hue Shift on track 1, Strobe on track 3, cues on tracks 2, 4 and 5. On Cascade, tracks 2–5 change colour. On Contained, only track 2 does.
Send an effect to some zones only
- One clip: right-click it → Send to and pick an output group, zone or virtual zone. Track routing puts it back.
- A whole track: click ⇥ in the track header. Cue routing clears it.
The clip's Send to wins over the track's.
Things to know
- The live master effects on the Performance page run on top of the timeline's output. The two stack; a live effect never bypasses a timeline effect. The same mirror twice (a Reflective clip and a live Reflective flip) cancels out.
- Timeline effects render the same in a mixdown as when played live.
- Multi-zone effects use each zone's position in the stage preview. Overlapping zones move as one.
- Zone Chase and Strobe count from the clip's start. Zone Chase Beats follow the beat section's BPM (the global tempo outside sections).
- A cue clip keeps its own cue-editor effects; timeline effects apply on top.