Routing
Zones
Shape, mask and dim the area a projector draws into.
A zone is a drawing area on one projector. Cues draw into a square canvas; the zone fits that canvas onto its part of the projector's scan field, and keeps light out of places it must not go.
What a zone does to the picture
In this order, for every frame:
- Collects everything sent to it: tracks routed to the zone, its share of virtual zones and output groups, and its test pattern. They add up.
- Clips to the zone's mask. With no mask, anything outside the canvas is cut.
- Dims with the zone's Power Map.
- Bends the result onto the scan field with the zone's geometry.
- Hands it to its projector.
Because the mask and Power Map come before the geometry, they belong to the canvas: they move and bend with the zone when you change its geometry.
Add a zone and route it
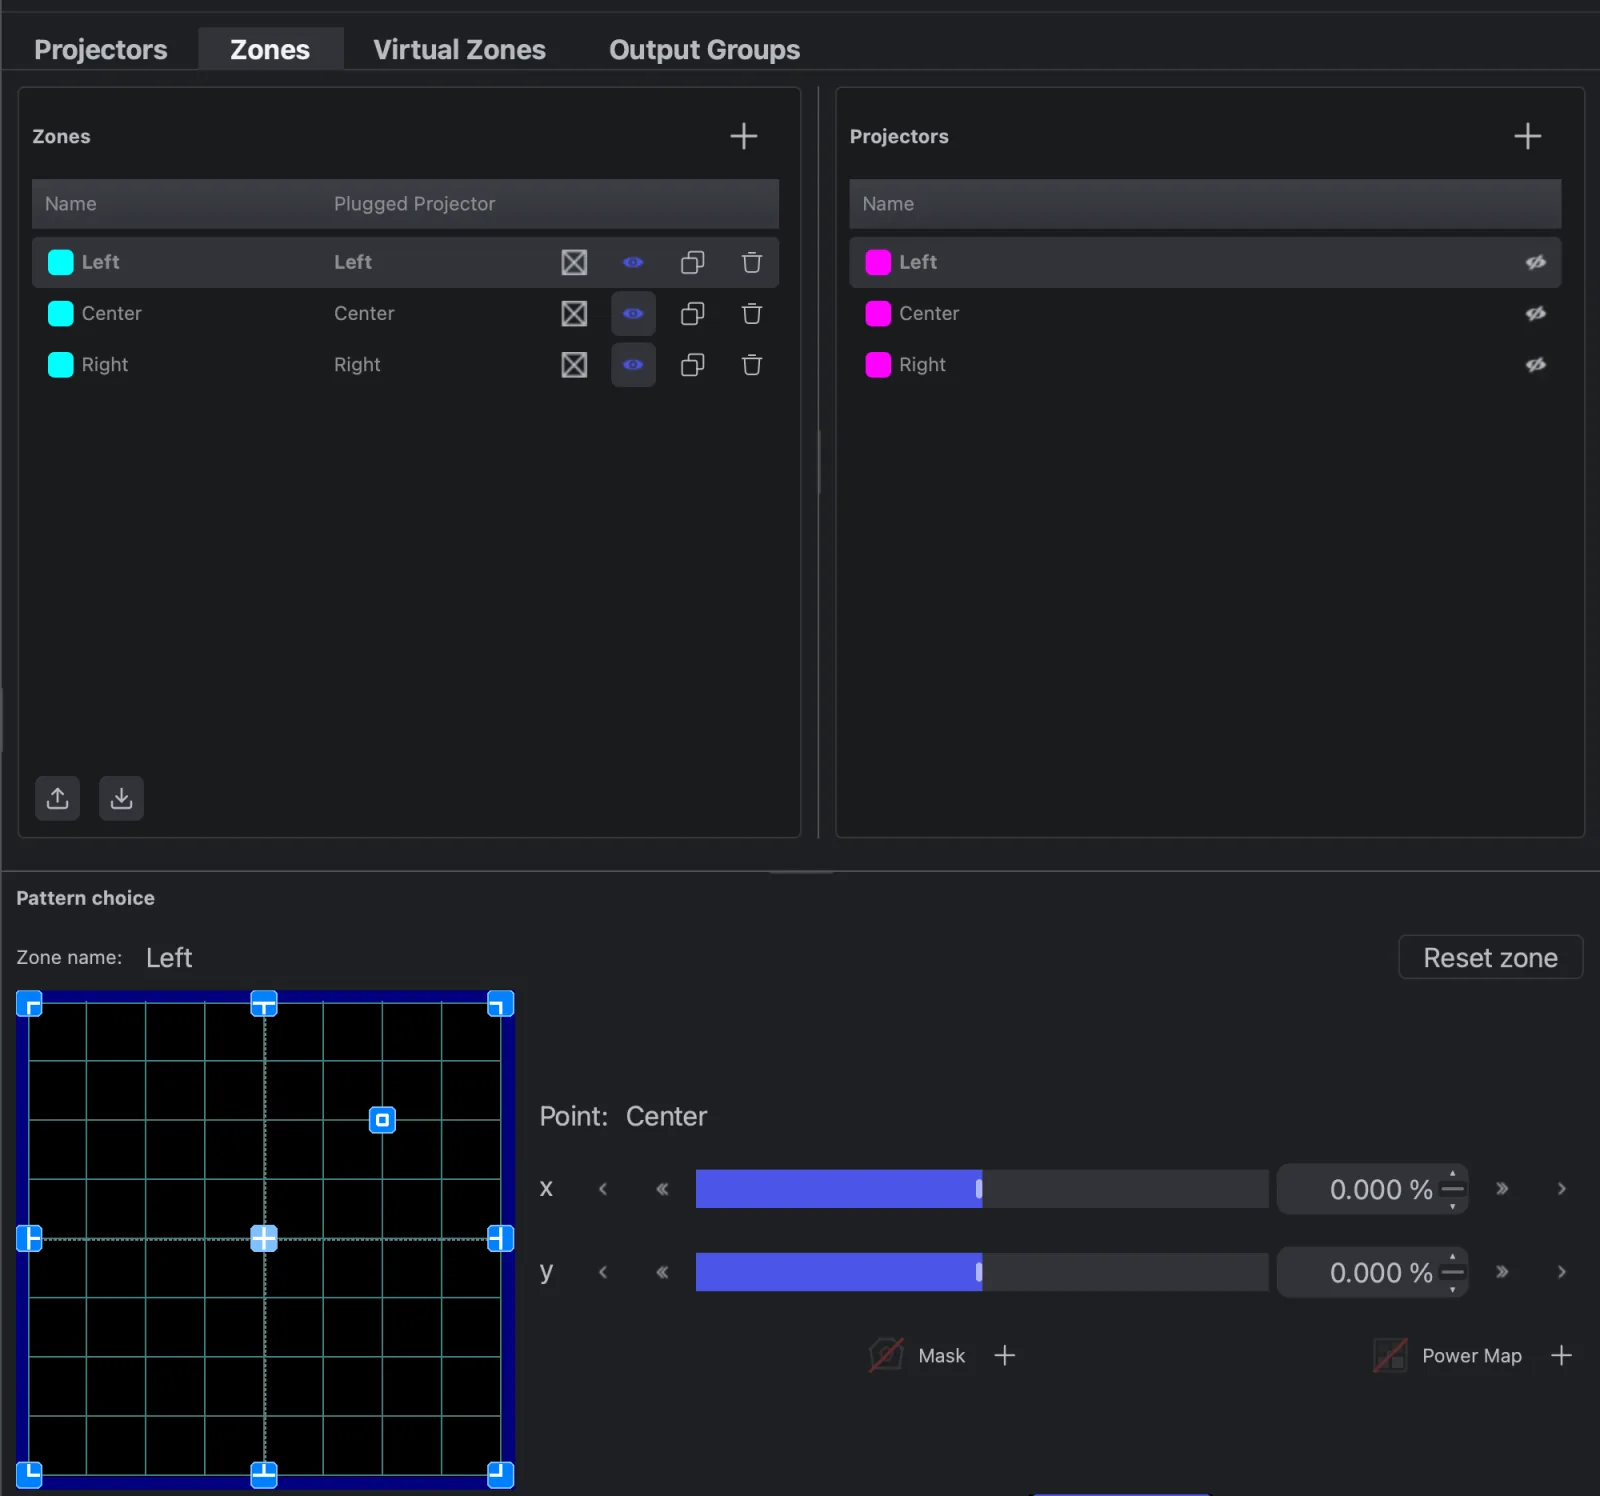
- On the Zones tab, click + on the Zones table.
- With the zone selected, click a projector in the Projectors list beside it. The Plugged Projector column shows the choice.
- Shape it under the tables.
A zone is on one projector at a time. Zone Size in Settings → General sets how big a new zone starts. Deleting a zone asks first and lists what it affects: virtual zone splits that lose their zone, a projector left with no zones, output groups that lose it. The last zone can't be deleted.
Geometry
The editor shows the scan field with the zone's outline and handles. The corner handles keystone the picture, the edge-centre handles bend that edge, Center shifts the picture inside the outline and Fish Eye bulges or pinches it.
- Drag a handle, or drag inside the zone to move it all.
- Arrow keys nudge; add
Shiftfor big steps,⌘/Ctrlfor fine steps. 0–9pick a handle laid out like a numeric keypad (7top left,5centre,3bottom right,0fish eye).Tabcycles;⌥/Alt+ arrow jumps to the neighbour.- Double-click or right-click a handle to reset it. Reset zone returns the whole zone to the full scan field.
Mask
A mask is a set of polygons that decide where the zone may draw. Use it to keep beams off balconies, cameras, truss or a screen.
- Click Create polygonal mask (the + beside Mask).
- In the Mask Editor, click Add Show Inside to add an area to keep, or Add Hide Inside to add a hole to blank.
- Drag the points into place. Drag an edge to add a point; right-click a point to delete it.
- Load Background... puts a picture behind the editor to line the mask up against.