Routing
How routing works
How a cue reaches a laser, through zones, projectors and DACs.
Routing decides which laser draws what. You set it up once per rig on the Routing page, and every cue and timeline in the workspace uses it.
The signal path
Every track in a cue picks an output. From there the picture passes through up to six stages:
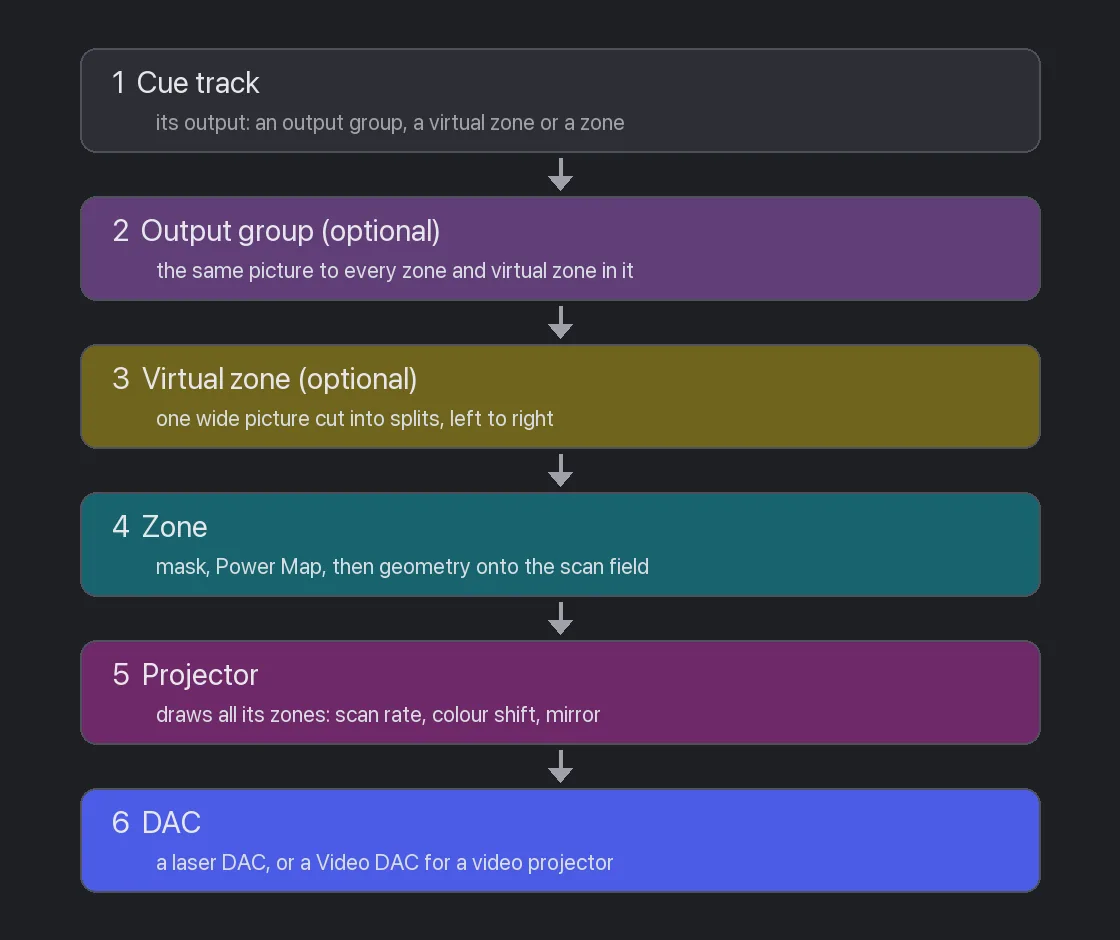
- Cue track. Its output is an output group, a virtual zone or a zone (the Track outputs list in the cue editor). A new track goes to All, the output group that holds every zone.
- Output group. Sends the same picture to each zone and virtual zone in it.
- Virtual zone. Cuts one wide picture into splits, left to right, and sends each split to its own zone.
- Zone. Clips the picture to its mask, dims it with its Power Map, then bends it onto its part of the projector's scan field.
- Projector. Draws all its zones one after another, at its scan rate, with its colour shift and mirroring.
- DAC. Sends the points to the laser. A Video DAC sends them to a video projector instead.
Each step only points to the next one. A zone belongs to one projector, a projector has one DAC, and a DAC feeds one projector. A projector can carry several zones, and a zone can appear in several virtual zones and output groups.
Effects sit along this path too: cue effects and master effects work zone by zone, before the zone's own mask and geometry. See Effects.
The four tabs
| Tab | What you set up there |
|---|---|
| Projectors | The lasers: add projectors, find DACs and assign one to each projector, set scan rate and mirroring. See Projectors and DACs |
| Zones | The drawing areas: add zones, put each on a projector, shape it, mask it, add a Power Map. See Zones and Power Map |
| Virtual Zones | Wide canvases split across several zones. See Virtual zones |
| Output Groups | Named sets of zones and virtual zones that tracks send to as one. See Output groups |
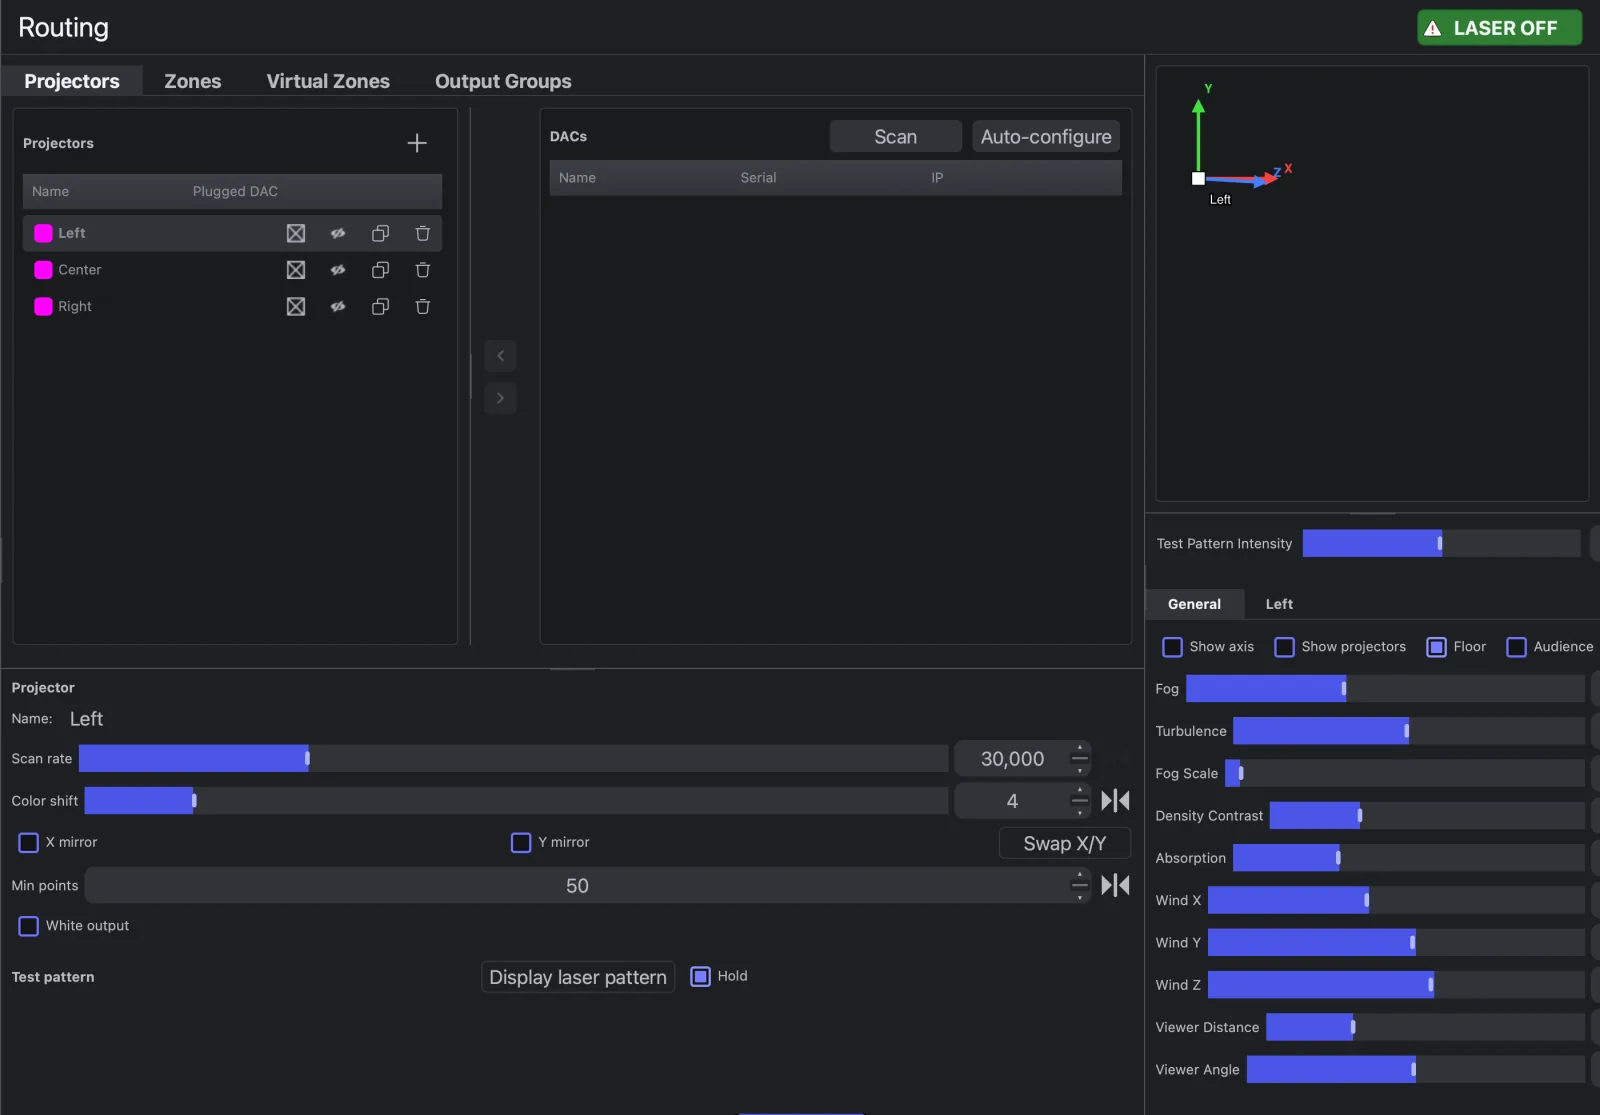
Zones are cyan, virtual zones yellow, output groups violet and projectors magenta, here and in the cue editor's Track outputs list.
The LASER OFF / LASER ON button in the toolbar arms the output, as on the Performance page. Test patterns switch off when you leave the Routing page; see Test patterns.
To align zones from a tablet next to the projector, see Web zoning.
Examples
One projector, two zones
A single laser that draws a logo on the left of the stage and beams on the right.
- Projectors tab: Scan, then Auto-configure. The DAC goes to Projector 1.
- Zones tab: add a second zone. Select each zone and click Projector 1 in the Projectors list.
- Shape Zone 1 to the left half of the scan field and Zone 2 to the right half.
- In the cue editor, send the logo track to Zone 1 and the beams track to Zone 2.
Both zones share the projector's points. The more zones a projector draws, the fewer points each one gets, so busy content flickers sooner.
Two projectors, one show
Two lasers, left and right of the stage, playing as one wide picture.
- Projectors tab: Scan, then Auto-configure. Each DAC gets a projector.
- Zones tab: put Zone 1 on the left projector and Zone 2 on the right one.
- Virtual Zones tab: add a virtual zone, add Zone 1, then add Zone 2 as a new split.
- Send cues to the virtual zone. A shape moving left to right crosses from one laser to the other.
To send the same picture to both lasers instead, send cues to All, or to an output group that holds both zones.
The stage preview
The stage preview shows the rig in 3D, with the beams of the tab you are on. On Projectors,
drag the arrows or the centre square to move the selected projector; hover the preview and press
F for Realistic fog. Preview settings (the General tab and each projector's position,
tilt, pan and aperture) change the preview only, not the laser picture.
Save and reuse a rig
Routing is saved in the workspace. To reuse it in another workspace, use the two buttons under the Zones table:
- Export writes projectors, zones (with masks and Power Maps), zone-to-projector routing and
virtual zones to a
.xroutefile. Video DAC settings are not included. - Import reads a
.xroutefile (it replaces the current routing),.tszzone geometry, or a Pangolin BEYOND.bzonesexport (zones merge by name).
See File formats.